Last Updated on April 5, 2025 by Kravelv Spiegel
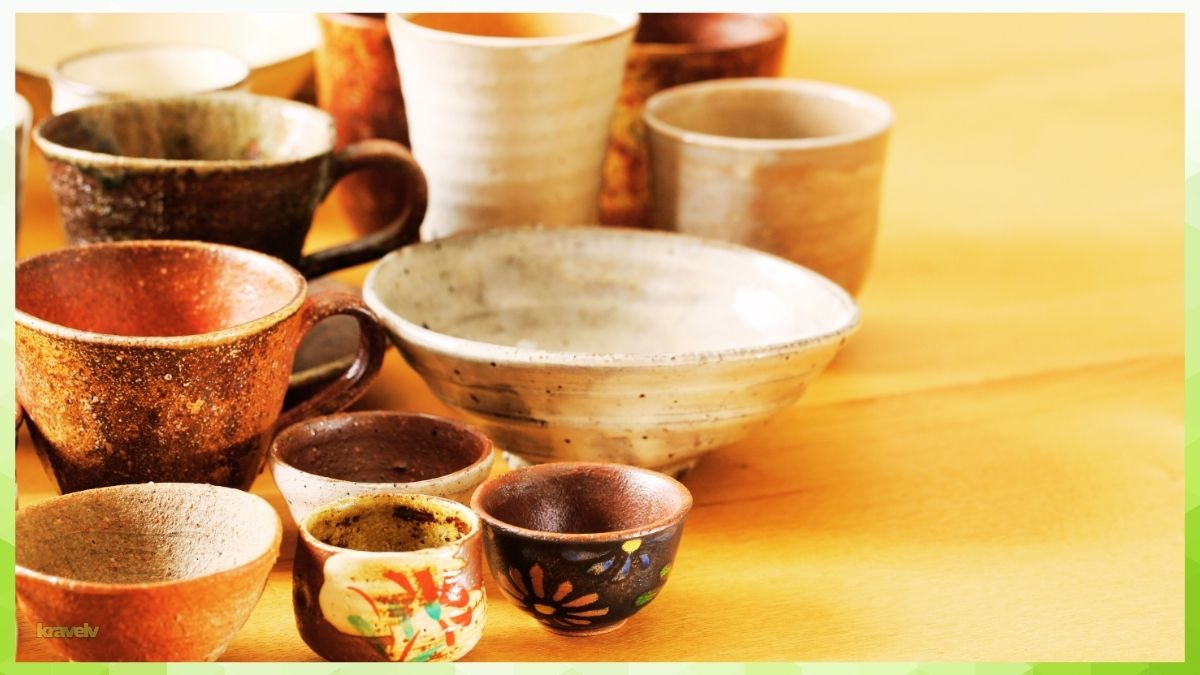
Working with ceramics is a fun, relaxing, and rewarding hobby. The idea of shaping, molding, and painting your own handmade pieces is not only fulfilling but also a great way to create personalized gifts or home decor. If you’re a beginner, don’t worry! You don’t need a fancy studio or expensive tools to start. Here are ten simple ceramic projects that you can try today!
Key takeaways:
- Safety first – Proper precautions, like avoiding dust inhalation and using non-toxic materials, ensure a safe ceramic-making experience.
- Beginner-friendly projects – Simple DIY ceramic projects help newcomers practice basic techniques while building confidence.
- Finishing techniques matter – Sanding, painting, and glazing give ceramic pieces a professional and polished look.
- Drying and firing correctly – Allowing clay to dry and firing at the right temperature prevents cracks and ensures durability.
Materials and Tools Needed
Before you start, here are the basic materials and tools you’ll need:
- Clay – Air-dry clay or oven-bake clay for beginners, or traditional clay if you have access to a kiln.
- Rolling pin – For flattening the clay.
- Carving tools – Wooden sticks, old cutlery, or special ceramic tools.
- Water and sponge – Helps smooth out cracks.
- Paints and glaze – Acrylic paints for air-dry clay, ceramic glaze for kiln-fired pieces.
Safety Tips When Working with Ceramics
Working with clay is fun and therapeutic, but it’s important to follow some basic safety precautions to avoid accidents and health risks. Here are some essential tips to keep in mind:
1. Avoid Inhaling Clay Dust
- Dry clay dust contains silica, which can be harmful when inhaled over time.
- Always clean your workspace with a damp cloth or sponge instead of dry sweeping to prevent dust from becoming airborne.
- If you work with ceramics regularly, consider wearing a mask to avoid inhaling fine particles.
2. Keep Your Work Area Clean
- Use a dedicated space for ceramics, preferably with good ventilation.
- Keep your tools and work surface clean to avoid contamination and dust buildup.
- If working with glazes or paints, cover your workspace with newspaper or a plastic sheet for easy cleanup.
3. Protect Your Hands
- Clay can dry out your skin, so wear gloves or apply a hand moisturizer after working.
- If using sharp tools, handle them carefully to avoid cuts and injuries.
4. Work with Non-Toxic Materials
- If you’re using glazes, paints, or sealers, check the labels to ensure they are non-toxic, especially if you’re making items for food use.
- Avoid lead-based glazes for dishes, mugs, or anything that will hold food or drinks.
5. Be Cautious with Kilns and Ovens
- If using a kiln, follow manufacturer safety guidelines and never fire pieces at incorrect temperatures.
- When using an oven for polymer clay, make sure it’s well-ventilated to avoid fumes.
6. Keep Water Nearby
- Clay dries out quickly, so keep a bowl of water and a damp sponge to maintain moisture while working.
- However, don’t let water pool on your workspace—it can make your clay too wet and difficult to work with.
10 Easy Ceramic DIY Projects
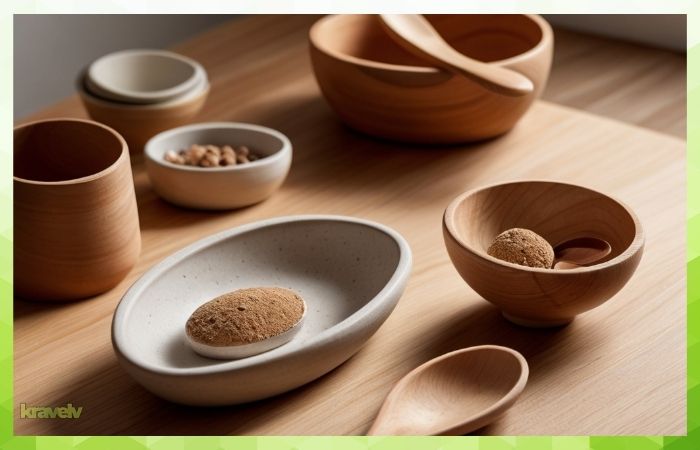
1. Hand-Built Clay Bowls
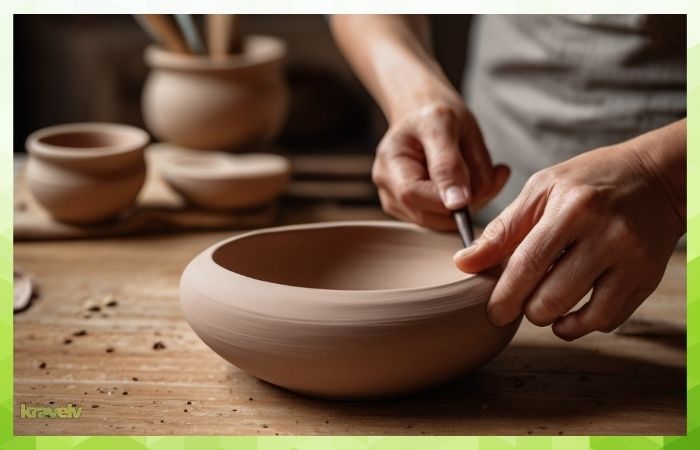
One of the easiest projects to start with is a simple pinch pot bowl. Just take a ball of clay, press your thumb into the center, and slowly pinch outward to form a bowl shape. Let it dry completely before painting or glazing!
2. Personalized Ceramic Mugs
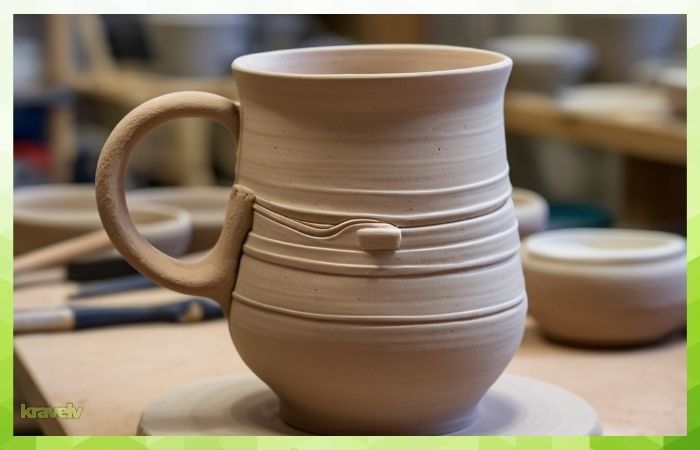
Mugs are a classic ceramic project. Use the slab technique (rolling out clay and shaping it into a cylinder) or the coil method (stacking coils of clay). Add a handle, let it dry, and paint your favorite design before firing.
3. DIY Ceramic Coasters
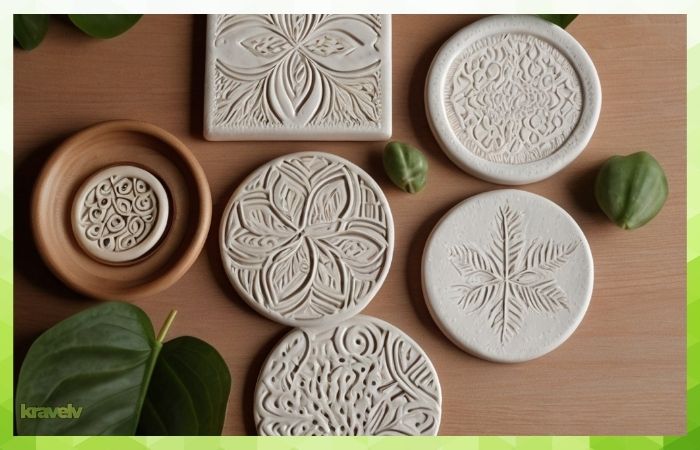
Coasters are easy and practical! Roll out a flat piece of clay and cut out circles or squares. Add textures using stamps, lace, or leaves. Once dried, paint them with acrylic or glaze them for a glossy finish.
4. Cute Mini Plant Pots
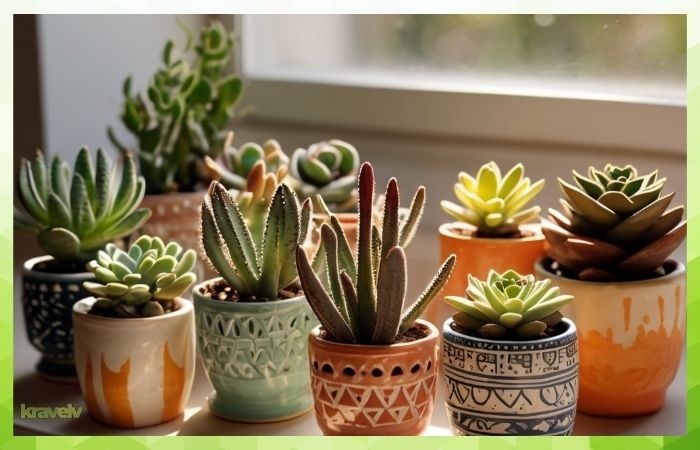
Create a tiny pot using the coil or slab method. These little planters are perfect for succulents! Let them dry, decorate them with fun designs, and seal them with waterproof glaze.
5. Handmade Jewelry Dishes
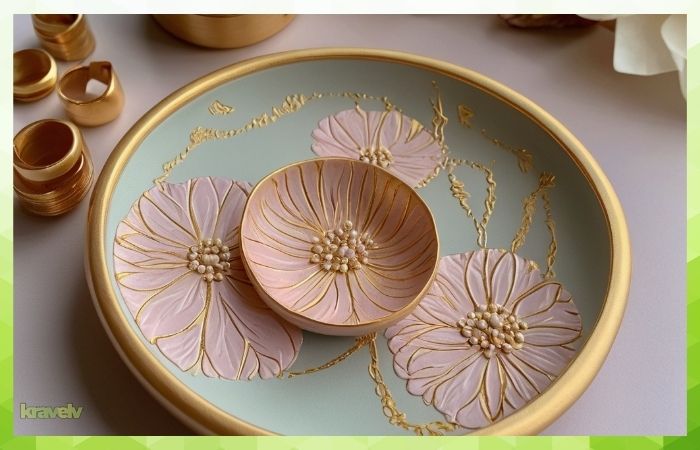
A jewelry dish is perfect for keeping rings and earrings organized. Shape a small dish, then press in patterns or use gold paint for an elegant touch.
6. Decorative Wall Tiles
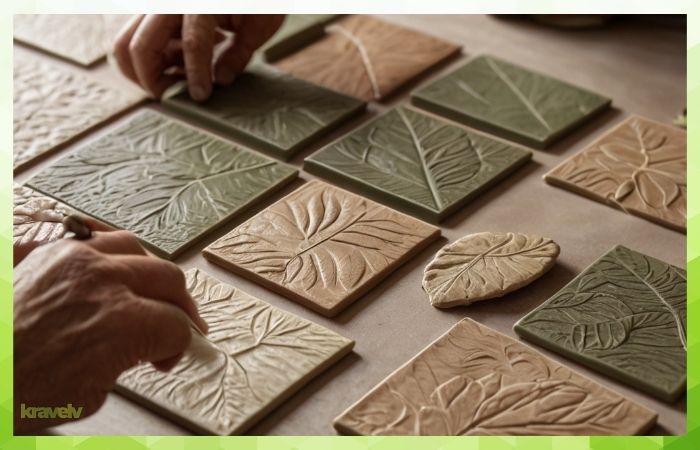
Create unique ceramic tiles by rolling out a clay slab and cutting square pieces. Add textures by pressing objects like leaves or fabric onto the surface. Paint them and use adhesive to mount them on the wall.
7. Clay Spoon Rests
A spoon rest is a super simple but useful project! Flatten a piece of clay, shape it into an oval, and slightly bend up the edges. Paint and seal for a long-lasting kitchen accessory.
8. DIY Clay Candle Holders
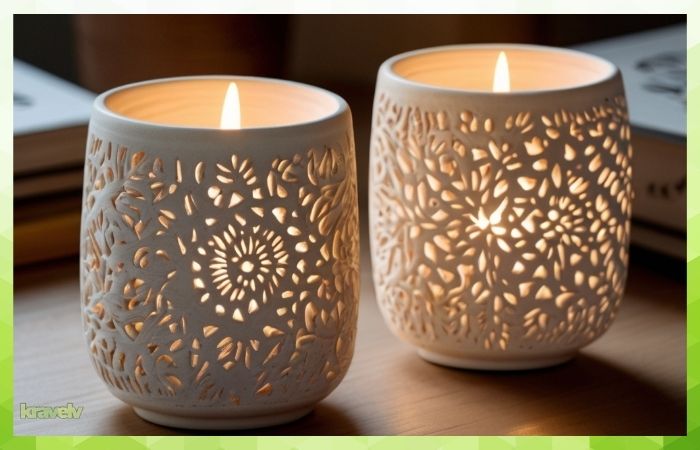
Form a small hollow base for a tealight candle. Add texture or paint patterns onto it before letting it dry. These make perfect table decorations!
9. Custom Ceramic Keychains

Roll out clay and cut out fun shapes like hearts, stars, or initials. Once dried and painted, attach a keyring for a stylish and personalized keychain.
10. Handmade Incense Holders
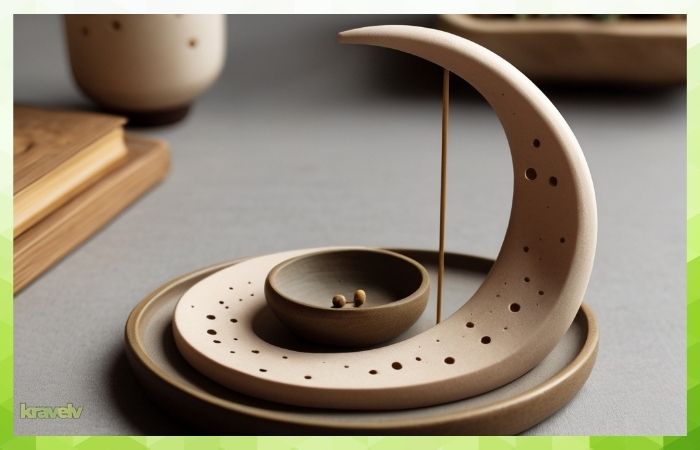
Make a small dish with a hole in the center for holding incense sticks. You can mold it into any shape—leaf, moon, or even an animal! Let it dry and decorate it with earthy tones.
Finishing and Glazing Tips
Proper finishing and glazing give your ceramic projects a professional touch. Whether you’re working with air-dry clay or kiln-fired ceramics, these steps will help you achieve the best results.
1. Drying Your Ceramics Properly
- Air-dry clay should be left to dry for at least 24-48 hours before painting or sealing.
- Kiln-fired clay should dry for a few days before firing to avoid cracking.
- Always dry pieces slowly and evenly—placing them in direct sunlight or near a heater can cause warping or cracks.
2. Sanding for a Smooth Finish
- Once dry, lightly sand rough edges with fine-grit sandpaper to create a polished look.
- Be gentle—too much sanding can weaken your ceramic piece.
- Wear a mask while sanding to avoid inhaling fine clay dust.
3. Choosing the Right Paints and Glazes
- For air-dry clay: Use acrylic paints or watercolor paints for a matte finish. To seal, apply mod podge, clear acrylic spray, or varnish.
- For kiln-fired ceramics: Apply a ceramic glaze and fire in a kiln at the recommended temperature for a glossy, durable finish.
- Experiment with textured glazes or matte finishes to create unique effects.
4. Applying Glaze Evenly
- Dip, brush, or spray glaze onto your ceramic piece, ensuring even coverage.
- Avoid applying glaze too thickly—it can drip or cause uneven textures when fired.
- Let the first coat dry before adding a second layer for the best results.
5. Firing Your Ceramics
- If using a kiln, follow the recommended temperature for your type of clay and glaze.
- Place pieces carefully inside the kiln to prevent them from touching and fusing together.
- For those without a kiln, consider oven-bake clay or air-dry clay as an alternative.
FAQs
1. Can I do ceramic DIY projects without a kiln?
Yes! Use air-dry or oven-bake clay instead of traditional clay.
2. What is the easiest ceramic project for a complete beginner?
A simple pinch pot or jewelry dish is a great start.
3. How long does it take for ceramic pieces to dry?
It depends on the clay type, but air-dry clay usually takes 24-48 hours.
4. Can I use household items as ceramic tools?
Absolutely! Old cutlery, chopsticks, and rolling pins work great.
5. What are the best paints for decorating ceramics?
Acrylic paint for air-dry clay and ceramic glaze for kiln-fired pieces.
Final words
Creating ceramics doesn’t have to be complicated! These beginner-friendly projects are easy, fun, and rewarding. Whether you want to make a gift, home decor, or just enjoy a creative hobby, ceramics is a fantastic choice. So grab some clay and start molding your ideas into reality!